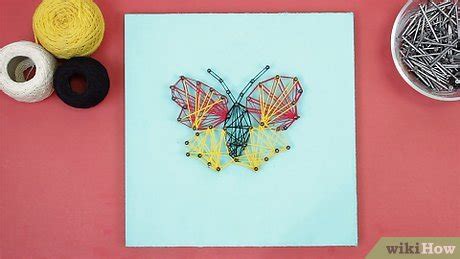
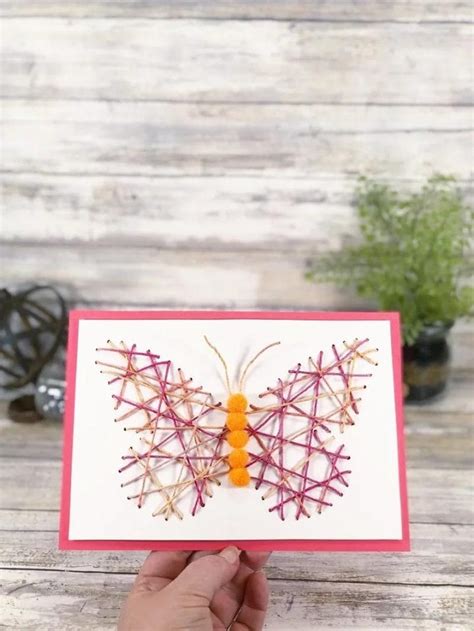
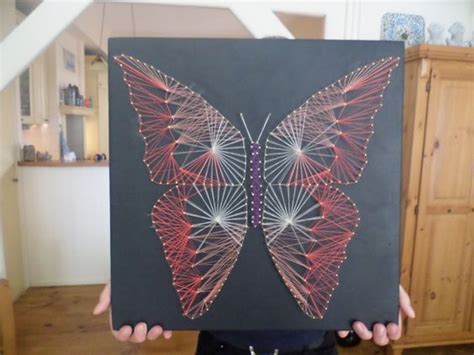
String art is a creative and rewarding craft that transforms simple materials into intricate and stunning designs. Whether you’re a seasoned crafter or a beginner looking to explore a new hobby, string art offers endless possibilities for personalization and expression. In this guide, we’ll walk you through the process of creating your own beautiful string art masterpiece. From choosing the perfect design and gathering your materials to mastering stringing techniques, each step is designed to help you craft a piece that is uniquely yours. Let’s dive into the art of string and nails!
Come explore this topic with indog.xyz for a deeper understanding.
1. Choosing Your Design and Pattern
Selecting the right design and pattern is the first step in creating stunning string art. Begin by considering the overall theme or message you want your artwork to convey. Simple geometric shapes, such as hearts, stars, or abstract patterns, are great for beginners, while more complex designs like animals, landscapes, or intricate mandalas can challenge those with more experience.
Next, think about the size and scale of your project. Larger designs will require more nails and string, so ensure you have enough materials on hand. Look for inspiration online, or sketch your own unique pattern. It’s essential to choose a design that not only excites you but also matches your skill level.
Once you’ve selected your pattern, print it out or draw it on paper, ensuring it fits the dimensions of your base surface. This will be your template, guiding you through the nailing and stringing process as you bring your vision to life.

2. Gathering Materials and Tools
Gathering the right materials and tools is crucial to the success of your string art project. Start with a sturdy base surface, such as a wooden board, that will hold the nails securely. Choose a size that complements your design and is easy to work with. You’ll need a set of small nails or pins, preferably with flat heads, as these will serve as anchor points for the string. Ensure you have enough nails to outline your entire pattern.
Next, select your string. Embroidery floss, yarn, or thin twine are popular choices, and they come in a wide range of colors to match your design. Consider using multiple colors to add depth and dimension to your artwork. You’ll also need a hammer to drive the nails into the base, a pair of scissors for cutting the string, and possibly tweezers to handle fine details.
Having all your materials and tools prepared before you start will make the process smoother and more enjoyable, allowing you to focus on the creative aspects of your project.

3. Preparing the Base Surface
Preparing the base surface is a critical step in creating a polished and durable string art piece. Begin by selecting a wooden board that suits your design’s size and shape. If the surface is rough or unfinished, sand it down with fine-grit sandpaper to achieve a smooth finish. This will not only make it easier to work with but also enhance the overall appearance of your final piece.
Once the board is smooth, consider painting or staining it to complement your design. A coat of paint or wood stain can add depth and contrast, making your string art stand out even more. Ensure the paint or stain is completely dry before moving on to the next step.
If desired, you can add a protective sealant to prevent the wood from warping over time. Finally, mark the edges of your board with a ruler to ensure that your design is centered and properly aligned. With your base surface prepared, you’re ready to start transferring your design.

4. Transferring the Design to the Base
Transferring your chosen design to the base is where your string art truly begins to take shape. Start by placing your printed or drawn pattern on the prepared wooden board. Secure it with tape at the corners to prevent any shifting during the next steps.
Using a pencil or a small nail, mark the points where the nails will go. These points should be evenly spaced along the outline of your design, ensuring that the string will have consistent tension and coverage. If your pattern includes intricate details, be sure to add extra marks to capture these finer elements.
Once all the points are marked, carefully remove the pattern from the board, leaving only the marks behind. This will serve as a guide when you start hammering in the nails. If your design is complex, you might want to number the marks or create small notes to remind you of the stringing order. With your design successfully transferred, you’re ready to start nailing and bringing your artwork to life.
5. Nailing the Outline
Nailing the outline is a crucial step that sets the foundation for your string art. Begin by selecting nails that are the right size for your design. Small, flat-headed nails work best, as they provide a sturdy anchor point for the string without overshadowing the design.
Start by placing the first nail at one of the marked points on your board. Gently tap it into the wood with a hammer, leaving about half of the nail exposed above the surface. This exposed section is where the string will be looped. Continue hammering nails along the outline, ensuring they are evenly spaced and securely anchored. Be patient and precise, as uneven or loose nails can affect the final appearance and structural integrity of your art.
For intricate designs, consider adding more nails to capture the finer details. Keep checking the alignment of your nails as you go to ensure your design stays true to your original pattern. Once all the nails are in place, take a moment to review your work, making sure every nail is secure and aligned with the others.
This step lays the groundwork for the stringing process, so take your time to ensure accuracy. With the outline complete, you’re ready to move on to the creative stringing phase, where your design will truly come to life.
6. Stringing Techniques and Tips
Stringing is where your design transforms into a vibrant piece of art. Begin by tying the end of your string securely to the first nail, usually at a corner or a key point in your design. From here, you’ll start looping the string around the nails, following your design’s outline.
There are several techniques you can use, depending on the look you want to achieve. The simplest method is to outline the shape by wrapping the string around each nail in sequence, creating a clean and defined border. For a more complex and textured look, you can crisscross the string between nails, layering the string to build up the design’s depth and intricacy.
Keep the string taut but not too tight, as excessive tension can cause the nails to loosen or even pull out of the wood. If you’re using multiple colors, plan your transitions carefully, tying off one string before starting the next.
As you work, periodically step back to view the design from a distance, ensuring the pattern is developing as you envisioned. With patience and creativity, your string art will emerge as a stunning piece, showcasing the beauty of simple materials in harmony.
Creating string art is a rewarding journey that combines creativity and precision. By carefully selecting your design, gathering the right materials, preparing your base, and mastering stringing techniques, you can craft a stunning piece of art. Enjoy the process and let your imagination guide you to create a unique and beautiful string art masterpiece.
indog.xyz
